第二章我们简单的介绍了下如何连接测试数据库,这篇我们将结合 TDD 来完整的实现注册和登录功能。(如果接下来我写的内容你已经做过,可以跳过该步)
按照 Nest 提供的示例 E2E 测试, 位于 test/app.e2e-spec.ts 应该长这样
test/app.e2e-spec.ts 1 2 3 4 5 6 7 8 9 10 11 12 13 14 15 16 17 18 19 20 21 22 23 import { Test , TestingModule } from '@nestjs/testing' import * as request from 'supertest' import { AppModule } from './../src/app.module' describe ('AppController (e2e)' , () => { let app beforeEach (async () => { const moduleFixture : TestingModule = await Test .createTestingModule ({ imports : [AppModule ], }).compile () app = moduleFixture.createNestApplication () await app.init () }) it ('/ (GET)' , () => { return request (app.getHttpServer ()) .get ('/' ) .expect (200 ) .expect ('Hello World!' ) }) })
现在是运行不了的,不过没关系,我们稍稍改造一下
首先我们测试一个用于检查健康的接口 /hello, 无需导入整个 AppModule, 只需导入 AppController ,改造为下列的样子
app.e2e-spec.ts 1 2 3 4 5 6 7 8 9 10 11 12 13 14 15 16 17 18 19 20 21 22 23 24 25 26 27 import { Test , TestingModule } from '@nestjs/testing' import { AppController } from 'app.controller' import * as request from 'supertest' describe ('app module' , () => { let app beforeAll (async () => { const moduleFixture : TestingModule = await Test .createTestingModule ({ controllers : [AppController ], }).compile () app = moduleFixture.createNestApplication () await app.init () }) afterAll (async () => { await app.close () }) it ('/hello (GET)' , () => { return request (app.getHttpServer ()) .get ('/hello?name=world' ) .expect (200 ) .expect ('Hello world!' ) }) })
然后执行
为了更好的组织我们的代码,我们将不同模块写入不同的测试文件,这样它们在操作数据库时就不容易有冲突
创建 test/auth.e2e-spec.ts 文件,用于测试我们的 Auth 模块
test/auth.e2e-spec.ts 1 2 3 4 5 6 7 8 9 10 11 12 13 14 15 16 17 18 19 20 21 22 23 24 25 26 27 28 29 30 31 32 33 34 35 36 37 38 39 40 41 42 43 44 45 46 47 48 49 50 51 52 import { Test , TestingModule } from '@nestjs/testing' import { TypeOrmModule } from '@nestjs/typeorm' import { AppController } from 'app.controller' import { AuthModule } from 'auth/auth.module' import * as request from 'supertest' import { UserModule } from 'user/user.module' describe ('Auth Module Integration' , () => { let app beforeAll (async () => { const moduleFixture : TestingModule = await Test .createTestingModule ({ imports : [ TypeOrmModule .forRoot ({ type : 'postgres' , host : 'localhost' , port : 5432 , username : 'realworld' , password : '123456' , database : 'nestjs_test' , entities : [UserEntity ], dropSchema : true , synchronize : true , }), UserModule , AuthModule , ], controllers : [AppController ], }).compile () app = moduleFixture.createNestApplication () await app.init () }) afterAll (async () => { await app.close () }) describe ('/auth/register (POST)' , () => { it ('should return 201' , async () => { const requestBody = { username : 'foobar' , email : 'foobar@example.com' , password : '12345678' , } await request (app.getHttpServer ()) .post ('/auth/register' ) .send (requestBody) .expect (201 ) }) }) })
我们注意到, 我们首先导入了一个 TypeOrmModule,用于测试环境的数据库连接,然后还导入了 AuthModule 和 UserModule ,它们分别是我们要测试的模块和依赖的模块。
连接数据库时, 我们连接了一个测试数据库 nestjs_test,还打开了 dropSchema 的属性,它的作用是建立连接时都会将 schema 清空,来保证我们测试的幂等性,也就是每次都运行在一个干净的环境上。
然后再次运行测试,这次再运行之前我们对 test:e2e 这个命令做一点改造,给它追加一个 --runInBand 参数,
这个意思是让测试按顺序跑,避免多个测试同时操作同一个数据导致出现问题,至于按什么顺序就不得而知了。
package.json 1 2 3 "test:debug": "node --inspect-brk -r tsconfig-paths/register -r ts-node/register node_modules/.bin/jest --runInBand", - "test:e2e": "jest --config ./test/jest-e2e.json" + "test:e2e": "jest --config ./test/jest-e2e.json --runInBand"
然后执行 yarn test:e2e
现在注册功能还不完善,我们还需要补充更多场景,比如注册时如果用户名或 Email 已存在,我们应该返回 400 错误
先来补充测试用例
auth.e2e-spec.ts 1 2 3 4 5 6 7 8 9 10 11 12 13 14 15 16 17 18 19 20 21 22 23 24 25 26 27 28 29 30 31 32 33 34 35 36 37 38 39 40 41 42 43 44 45 46 47 48 49 describe ('/auth/register (POST)' , () => { it ('should return 201' , async () => { const requestBody = { username : 'mutoe' , email : 'mutoe@foxmail.com' , password : '12345678' , } await request (app.getHttpServer ()) .post ('/auth/register' ) .send (requestBody) .expect (201 ) }) it ('should return 400 given exist username' , async () => { const requestBody = { username : 'mutoe' , email : 'foo@bar.com' , password : '12345678' , } const response = await request (app.getHttpServer ()) .post ('/auth/register' ) .send (requestBody) expect (response.status ).toBe (400 ) expect (response.body ).toHaveProperty ('message' , 'username is exist' ) }) it ('should return 400 given exist email' , async () => { const requestBody = { username : 'foobar' , email : 'mutoe@foxmail.com' , password : '12345678' , } const response = await request (app.getHttpServer ()) .post ('/auth/register' ) .send (requestBody) expect (response.status ).toBe (400 ) expect (response.body ).toHaveProperty ('message' , 'email is exist' ) }) })
然后运行一下测试,应该是有 1 个绿和 2 个红(因为我们还没实现后面两个逻辑)
好,按照 TDD 的“红-绿-重构”流程,我们接下来要让测试变“绿”,实现具体的功能
auth.service.ts 1 2 3 4 5 6 7 8 9 10 11 12 13 14 15 16 17 18 async register (registerDto : RegisterDto ): Promise <AuthData > { let user : UserEntity user = await this .userService .findUser ({ username : registerDto.username }) if (user?.id ) { throw new BadRequestException ('username is exist' ) } user = await this .userService .findUser ({ email : registerDto.email }) if (user?.id ) { throw new BadRequestException ('email is exist' ) } const profile = await this .userService .createUser (registerDto) const token = this .generateToken (profile.id , profile.email ) return { ...profile, token } }
再次运行测试, 发现 3 个用例都“绿”了,好,注册功能就完成了,登录功能同理
auth.e2e-spec.ts 1 2 3 4 5 6 7 8 9 10 11 12 13 14 15 16 17 18 19 20 21 22 23 24 25 26 27 28 29 30 31 32 33 34 35 36 37 38 39 40 41 42 43 44 45 46 47 describe ('/auth/login (POST)' , () => { it ('should return 200 when login given correct user name and password' , async () => { const requestBody = { email : 'mutoe@foxmail.com' , password : '12345678' , } const response = await request (app.getHttpServer ()) .post ('/auth/login' ) .send (requestBody) expect (response.status ).toBe (200 ) }) it ('should return 400 when login given incorrect user name' , async () => { const requestBody = { email : 'not-exist@example.com' , password : '12345678' , } const response = await request (app.getHttpServer ()) .post ('/auth/login' ) .send (requestBody) expect (response.status ).toBe (400 ) expect (response.body ).toHaveProperty ('message' , 'user is not exist' ) }) it ('should return 400 when login given incorrect password' , async () => { const requestBody = { email : 'mutoe@foxmail.com' , password : 'invalid' , } const response = await request (app.getHttpServer ()) .post ('/auth/login' ) .send (requestBody) expect (response.status ).toBe (400 ) expect (response.body ).toHaveProperty ('message' , 'password is invalid' ) }) })
接下来是实现
auth.service.ts 1 2 3 4 5 6 7 8 9 10 11 12 13 14 15 16 17 18 19 20 async login (loginDto : LoginDto ): Promise <AuthData > { const user = await this .validateUser (loginDto.email , loginDto.password ) const token = this .generateToken (user.id , user.email ) return { ...user, token } } async validateUser (email : string , password : string ) { const user = await this .userService .findUser ({ email }, true ) if (!user) { throw new BadRequestException ('user is not exist' ) } if (user.password !== cryptoPassword (password)) { throw new BadRequestException ('password is invalid' ) } return omit (user, 'password' ) }
好,这次注册和登录功能就都完成了,如果你的代码有些出入,请不要在意,这个博客是我后面补的,请参考当时提交的代码快照
接下来我们创建一个单独的 pipeline 用于集成测试,这条 pipeline 跑在 docker 中,不过我们不用单独写 Dockerfile,我们只需要书写 .github/workflows 即可
.github/workflows/nodejs.yml 1 2 3 4 5 6 7 8 9 10 11 12 13 14 15 16 17 18 19 20 21 22 23 24 25 26 27 28 29 30 31 32 33 34 35 36 37 38 39 40 41 42 43 44 45 46 47 48 49 50 51 52 53 54 55 56 57 58 name: Node CI on: push: branches: - master jobs: build: e2e: e2e: runs-on: ubuntu-latest env: CI: true services: postgres: image: postgres:10.8 env: POSTGRES_USER: realworld POSTGRES_PASSWORD: 123456 POSTGRES_DB: nestjs_test ports: - 5432 :5432 options: >- --health-cmd pg_isready --health-interval 10s --health-timeout 5s --health-retries 5 steps: - uses: actions/checkout@v1 - name: Setup Nodejs uses: actions/setup-node@v1 with: node-version: 12 - name: Get yarn cache directory path id: yarn-cache-dir-path run: echo "::set-output name=dir::$(yarn cache dir)" - uses: actions/cache@v1 id: yarn-cache with: path: ${{ steps.yarn-cache-dir-path.outputs.dir }} key: ${{ runner.os }}-yarn-${{ hashFiles('**/yarn.lock') }} restore-keys: | ${{ runner.os }}-yarn- - name: Install dependencies run: yarn --skip-integrity-check --non-interactive --no-progress - name: Run tests run: yarn test:e2e
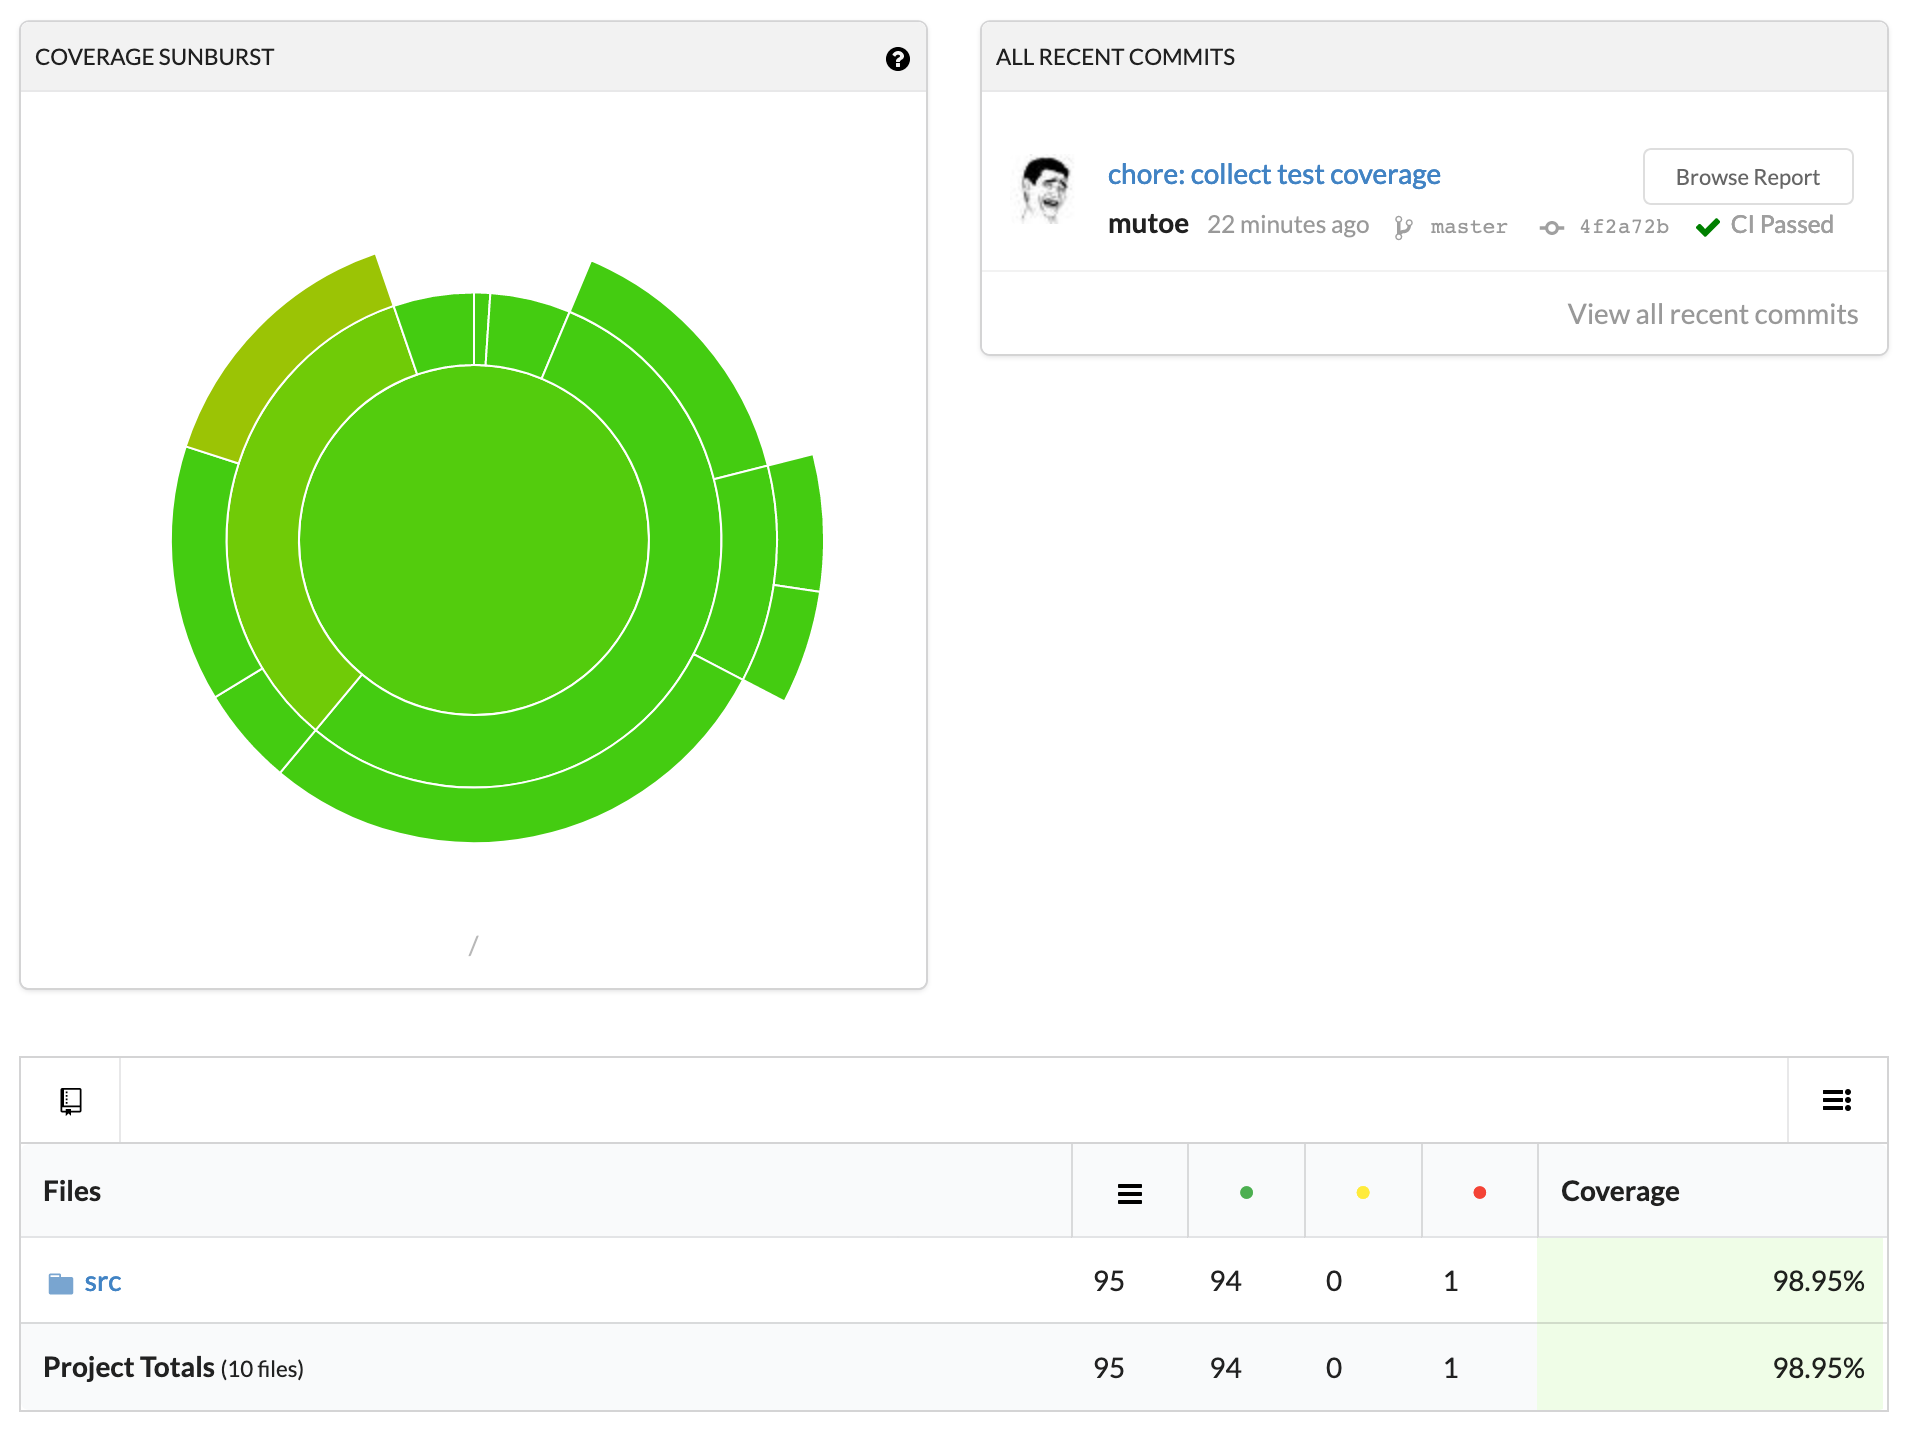
说到 Pipeline 我们还可以将单元测试的覆盖率收集起来,检查我们有哪些地方的代码遗漏了
首先我们修改一下测试报告生成的位置
package.json 1 2 3 4 5 6 7 8 { "jest" : { "rootDir" : "src" , "coverageDirectory" : "<rootDir>/../coverage" } }
这样,测试报告就会生成在根目录下的 coverage 目录了,可以运行 yarn test:cov 试一试
记得将 coverage 目录加入到 .gitignore, 这个是不需要上传到 git 仓库的
然后我们在单元测试的 Pipeline 中做一下改动来收集测试报告到 Codecov
.github/workflows/nodejs.yml 1 2 3 4 5 6 7 8 - name: Test run: yarn test:cov - name: collect coverage artifacts uses: codecov/codecov-action@v1 with: file: ./coverage/lcov.info
注意需要将单元测试的 script 由 yarn test 改为 yarn test:cov
然后推完代码,访问 https://codecov.io 即可看到你的覆盖率报告啦!