这一节, 我们引入 Swagger 来自动根据代码里的注脚来生成接口文档。
Nest 为我们提供了一个专用的模块来搭配 Swagger 来使用
1
| yarn add @nestjs/swagger swagger-ui-express
|
在我们的应用入口文件 main.ts 中添加一个 createSwagger 方法, 并在 bootstrap 方法中初始化它
main.ts1
2
3
4
5
6
7
8
9
10
11
12
13
14
15
16
17
18
19
20
21
22
23
24
25
26
27
28
29
30
| import { INestApplication, ValidationPipe } from '@nestjs/common'
import { NestFactory } from '@nestjs/core'
import { DocumentBuilder, SwaggerModule } from '@nestjs/swagger'
import { AppModule } from 'app.module'
function createSwagger(app: INestApplication) {
const version = require('../package.json').version || ''
const options = new DocumentBuilder()
.setTitle('Nestjs Realworld Example App')
.setVersion(version)
.addBearerAuth()
.build()
const document = SwaggerModule.createDocument(app, options)
SwaggerModule.setup('/docs', app, document)
}
async function bootstrap() {
const app = await NestFactory.create(AppModule)
app.useGlobalPipes(new ValidationPipe())
if (process.env.SWAGGER_ENABLE && process.env.SWAGGER_ENABLE === 'true') {
createSwagger(app)
}
await app.listen(3000)
}
bootstrap().catch((err) => console.error(err))
|
在 createSwagger 中, 我们首先读取了来自 package.json 中的版本号来作为接口的版本
然后我们设置了 Title 和 Bearer 鉴权认证入口, 我们还设置了 /docs 为我们文档的入口
最后,我们判断环境变量中的 SWAGGER_ENABLE 是否打开, 如果打开我们就初始化 Swagger 文档系统。
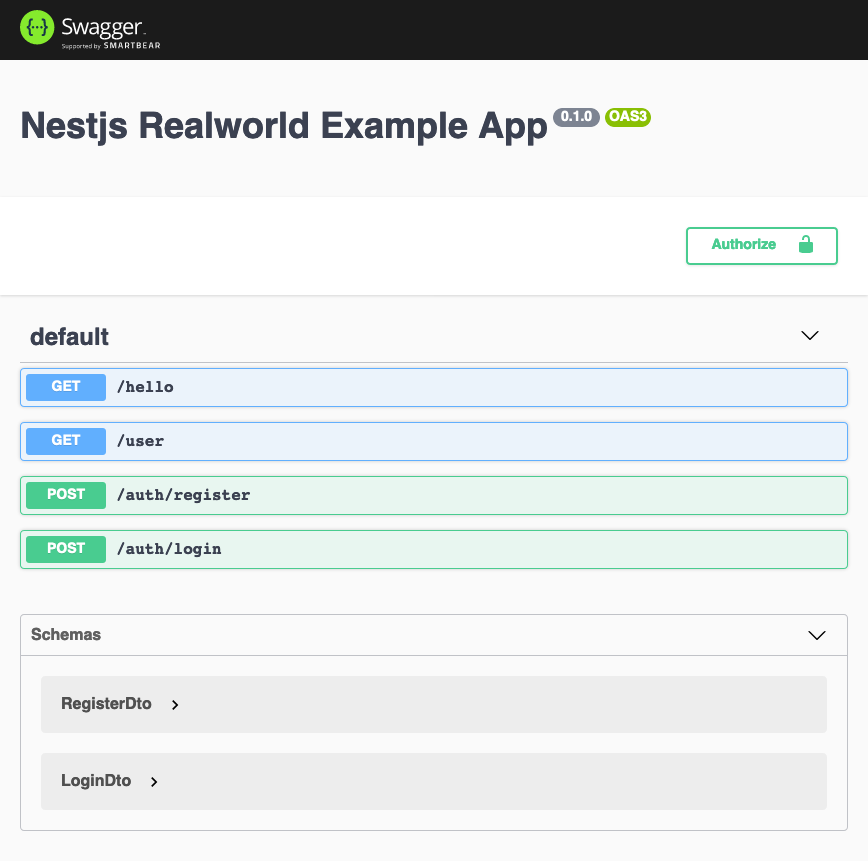
在 .env 和 .env.template 中增加 SWAGGER_ENABLE=true, 然后启动服务器
访问 http://localhost:3000/docs 就能看见我们的接口文档创建好啦!
不要着急,有了接口还不够,因为现在还没有任何的字段提示和示例,接下来我们就来添加文档
打开 auth/dto/login.dto.ts
auth/dto/login.dto.ts1
2
3
4
5
6
7
8
9
10
11
12
| import { ApiProperty } from '@nestjs/swagger'
import { IsEmail, IsNotEmpty } from 'class-validator'
export class LoginDto {
@IsEmail()
+ @ApiProperty({ example: 'foo@example.com' })
readonly email: string
@IsNotEmpty()
+ @ApiProperty({ example: '123456' })
readonly password: string
}
|
这里我们分别为 LoginDto 的两个字段声明了示例值,方便我们在 Swagger 中调用

我们还可以给字段声明可选, 打开 app.controller.ts
app.controller.ts1
2
3
4
5
6
7
8
9
10
11
| import { Controller, Get, Query } from '@nestjs/common'
import { ApiQuery } from '@nestjs/swagger'
@Controller()
export class AppController {
@Get('/hello')
+ @ApiQuery({ name: 'name', required: false })
healthCheck (@Query('name') name?: string): string {
return `Hello ${name || 'world'}!`
}
}
|
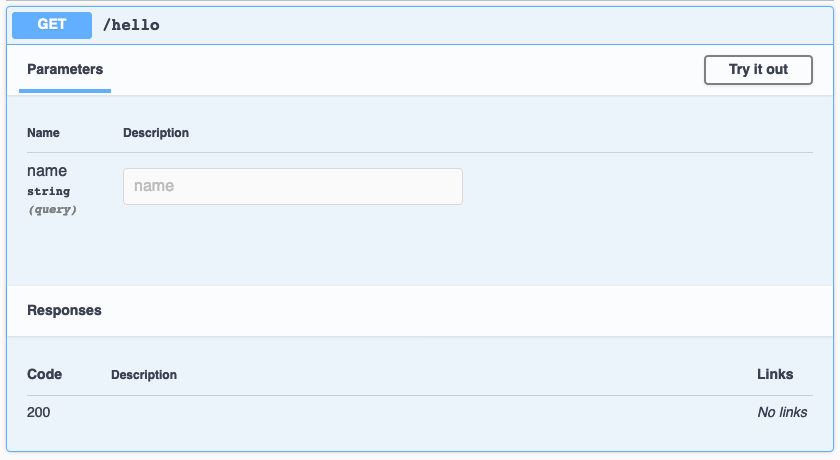
这里我们用 ApiQuery 的方式给示例接口增加了 name 字段为可选
Swagger 基于 OpenAPI 格式, Nest 为我们提供了导出 json 源码的能力,只需在接口文档入口最后添加 -json 即可,如 http://localhost:3000/docs-json
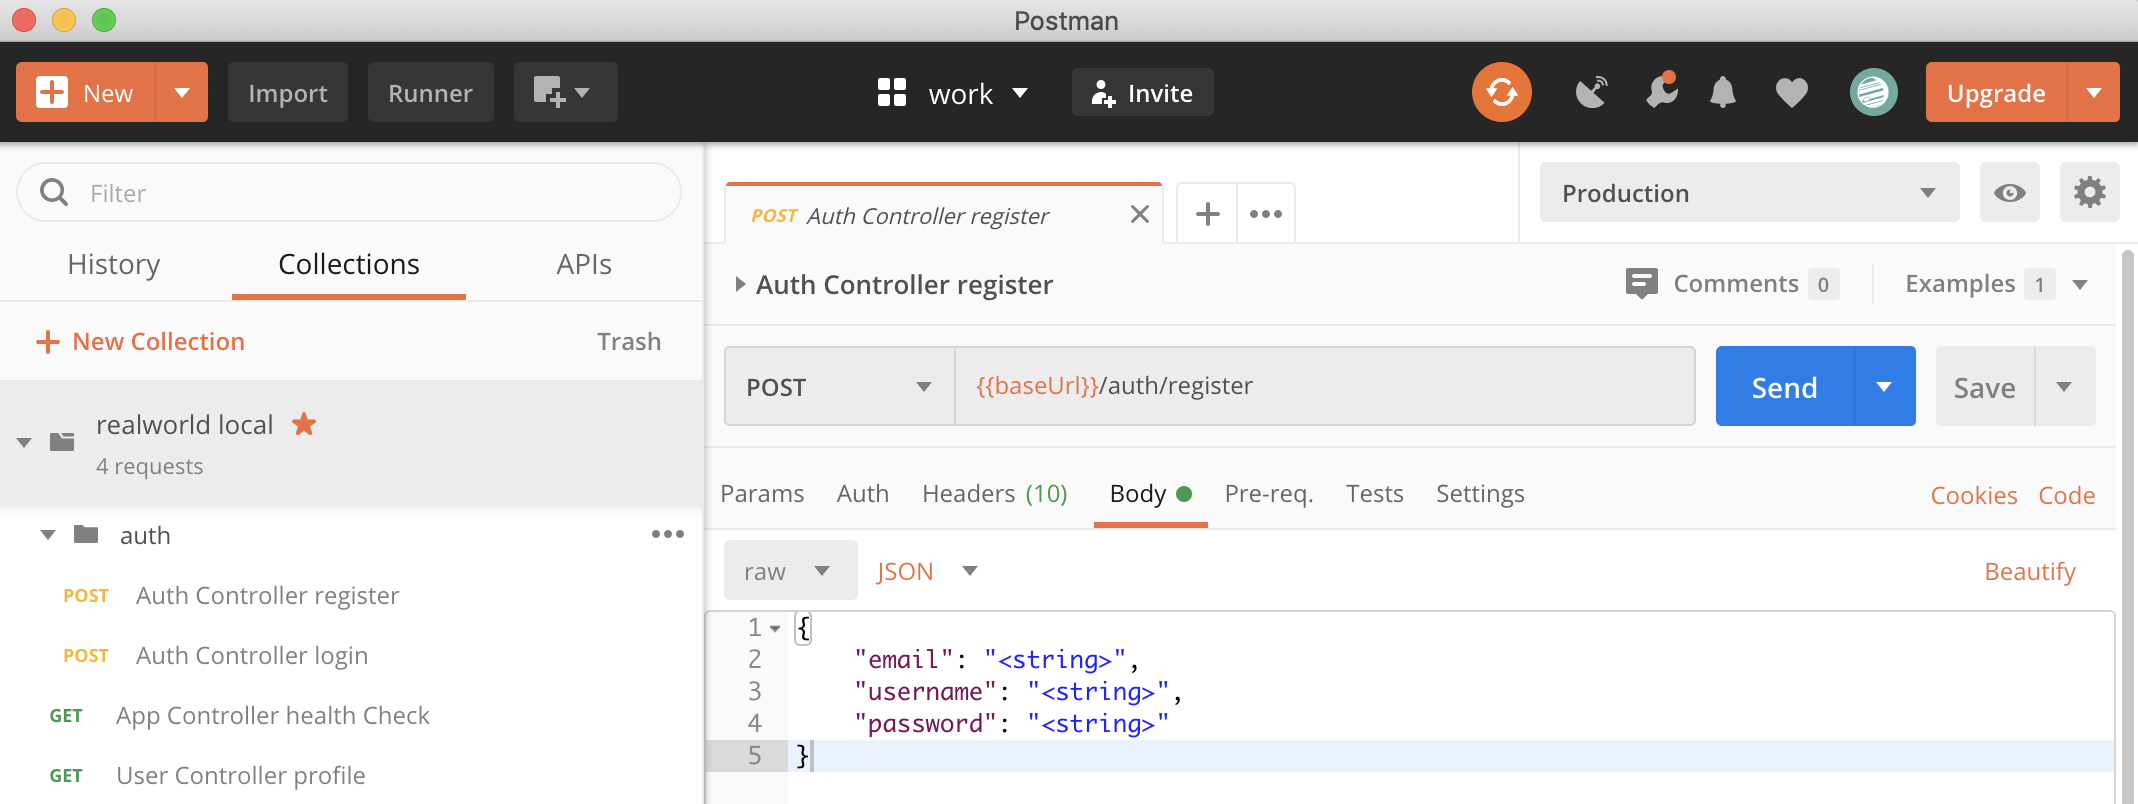
然后你就可以拿着这个 json 导入到支持 OpenAPI 的地方啦(比如 Postman)